TM-9-2330-342-23-P - Page 783 of 1348
REMOVAL - Continued
NOTE
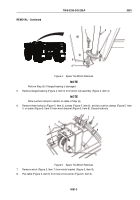
Note position of hook on lift assembly bracket prior to removal to aid in installation.
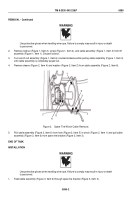
15.
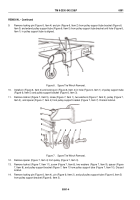
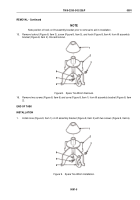
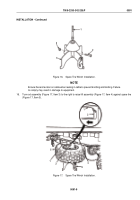
Remove locknut (Figure 8, Item 3), screw (Figure 8, Item 5), and hook (Figure 8, Item 4) from lift assembly
bracket (Figure 8, Item 2). Discard locknut.
1
2
3
4
5
6
Figure 8.
Spare Tire Winch Removal.
16.
Remove two screws (Figure 8, Item 6) and cone (Figure 8, Item 1) from lift assembly bracket (Figure 8, Item
2).
END OF TASK
INSTALLATION
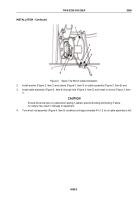
1.
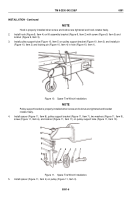
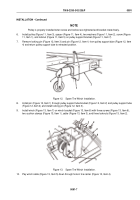
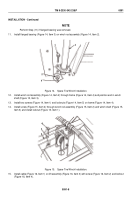
Install cone (Figure 9, Item 1) on lift assembly bracket (Figure 9, Item 2) with two screws (Figure 9, Item 6).
1
2
3
4
5
6
Figure 9.
Spare Tire Winch Installation.
TM 9-2330-342-23&P
0091
0091-5
Back to Top

