TM-9-2320-273-34 - Page 453 of 801
TM 9-2320-273-34
(1)
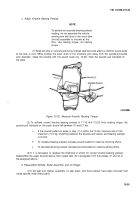
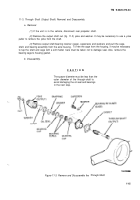
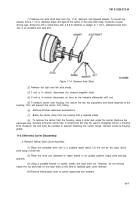
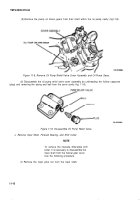
Remove the axle shaft stud nuts (fig. 11-4), washers, and tapered dowels. To loosen the
dowels, hold a 1 1/2-in. diameter brass drift against the center of the axle shaft head, inside the circular
driving lugs. Strike the drift a sharp blow with a 5-6 lb hammer or sledge. A 1 1/2-in. diameter brass ham-
mer is an excellent and safe drift.
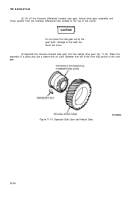
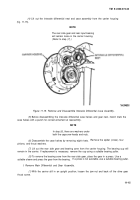
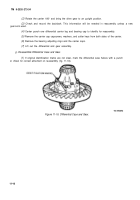
Figure 11-4. Remove Axle Shaft.
(2)
Remove the right and left axle shafts.
(3)
if unit is in vehicle, disconnect the forward propeller shaft.
(4)
If unit is in vehicle, disconnect air lines at the interaxle differential shift unit.
(5)
T
O
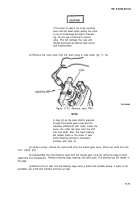
remove carrier from housing, first loosen the two top capscrews and leave attached to the
housing. This will prevent the carrier from falling.
(6)
(7)
(8)
capscrews and
bore. However, the end must be rounded
gasket.
to prevent indenting the carrier flange. Discard carrier-to-housing
Remove all other capscrews and washers.
Break the carrier loose from the housing with a rawhide mallet.
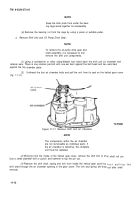
To remove the carrier from the housing, place a roller jack under the carrier. Remove top
washers and work carrier free. A small pinch bar may be used to straighten carrier in housing
11-5.
Differential Carrier Disassembly.
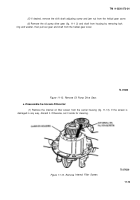
a. Remove Helical Gear Cover Assembly.
(1)
Place the complete drive unit in a suitable repair stand. Lift the unit by the input (front)
yoke using a chain fall.
(2)
Place the drive unit (attached to repair stand) in an upright position (input yoke pointing
upward).
(3)
Using a suitable wrench or socket, loosen the input yoke nut. However, do not remove.
Leave the nut and yoke on the input shaft at this time to facilitate gear cover removal.
(4)
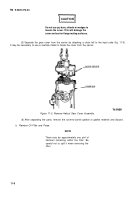
Remove helical gear cover to carrier capscrews and washers.
11-7
Back to Top

