TM-9-2330-342-23-P - Page 486 of 1348
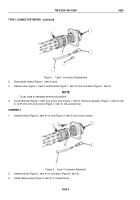
TYPE 1 CONNECTOR REPAIR - Continued
1
2
3
4
6
5
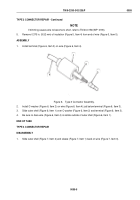
Figure 1.
Type 1 Connector Disassembly.
2.
Slide plastic sleeve (Figure 1, Item 6) back.
3.
Remove wire (Figure 1, Item 5) and terminal (Figure 1, Item 3) from connector (Figure 1, Item 2).
NOTE
Cut as close to damaged terminal as possible.
4.
Cut off terminal (Figure 1, Item 3) at end of wire (Figure 1, Item 5). Remove insulation (Figure 1, Item 4) 0.25
in. (6.35 mm) from end of wire (Figure 1, Item 5). Discard terminal.
ASSEMBLY
1.
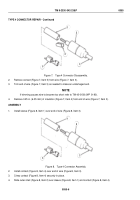
Install terminal (Figure 2, Item 4) on wire (Figure 2, Item 5) and crimp in place.
1
2
3
4
6
5
Figure 2.
Type 1 Connector Assembly.
2.
Install terminal (Figure 2, Item 4) on connector (Figure 2, Item 3).
3.
Install sealing plugs (Figure 2, Item 2) in unused holes.
TM 9-2330-342-23&P
0055
0055-2
Back to Top

