TM-9-2330-227-14-P - Page 120 of 576
TM 9-2330-227-14&P
4-42
JUNCTION BOXES, 110-VOLT
This task covers:
a. Removal (page 4-42)
b. Installation (page 4-45)
INITIAL SETUP
Tools
Personnel Required
Drill, electric, portable, l/2-inch
One
Drill, twist, 3/16-inch
Hammer, hand, ball-peen, 2-lb
Equipment Condition
Pliers, long round-nose
Punch, drive pin, 3/16-inch
Circuit breakers removed (page 4-40),
Screwdriver, cross-tip, number two
Screwdriver, flat-tip, 3/16-inch
ACTION
LOCATION
ITEM
REMARKS
WARNIN G
Contact with live 110-volt electrical wires could result in serious injury or death. Make
sure power source is disconnected before performing maintenance on the electrical
system.
NOT E
Both junction boxes are removed and installed the same way. This task is for one;
repeat for the other.
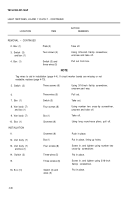
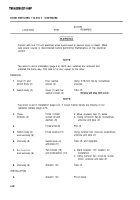
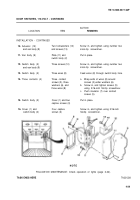
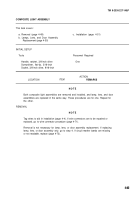
Tag wires to aid in installation (page 4-4). If circuit marker bands are missing or not
readable, replace (page 4-73).
REMOVAL
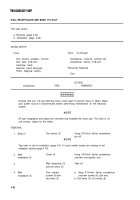
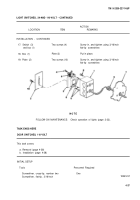
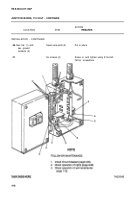
1.
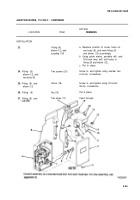
Bus bar (1) and
two ground
contacts (2)
2.
3.
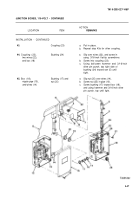
Box (5) and
nipple pipe (6)
Six screws (3)
Using 3/16-inch flat-tip screwdriver,
unscrew part way.
Seven wire ends (4)
Pull out.
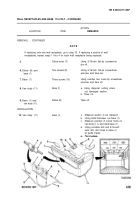
Bushing (7) and
a. Using 3/16-inch drive pin punch and
nut (8)
ball-peen hammer, tap bottom of
nut (8) toward van body (9) until
loose.
b. Unscrew nut (8), and take off.
Back to Top

