TM-9-2350-260-20-1-3 - Page 518 of 783
TM 9-2350-260-20-1-3
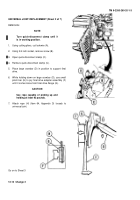
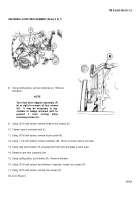
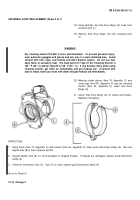
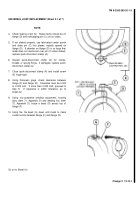
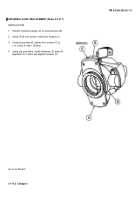
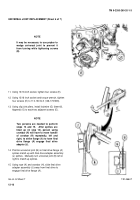
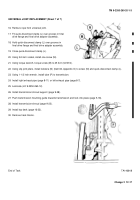
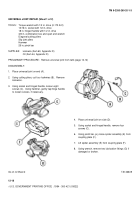
UNIVERSAL JOINT REPLACEMENT (Sheet 1 of 7)
PROCEDURE INDEX
PROCEDURE
PAGE
Removal
12-12
Inspection
12-14
Installation
12-14.2
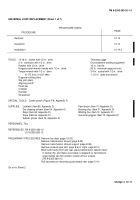
TOOLS:
13/16 in.
socket with 1/2 in.
drive
Thickness gage
2 in.
extension with 1/2 in.
drive
Oxy-acetylene welding equipment
Ratchet with 1/2 in.
drive
10 in.
flat file
Hinged socket wrench handle with 1/2 in.
drive
92 lb.
minimum capacity hoist
Torque wrench with 1/2 in.
drive
3/4 in.
socket with 1/2 in.
drive
(0-175 lb-ft) (0-237 N
•
m)
1-1/2 in.
open end wrench
Diagonal cutting pliers
Slip joint pliers
Aligning punch
Pinch bar
Crowbar
Hammer
Screwdriver
SPECIAL TOOLS:
Center punch (Figure F-9, Appendix F)
SUPPLIES:
Lockwire (Item 60, Appendix D)
Paint brush (Item 70, Appendix D)
Dry cleaning solvent (Item 54, Appendix D)
Brazing alloy (Item 71, Appendix D)
Rags (Item 65, Appendix D)
Welding flux (Item 72, Appendix D)
Rope (Item 64, Appendix D)
Industrial goggles (Item 73, Appendix D)
Rubber gloves (Item 74, Appendix D)
PERSONNEL: Two
REFERENCES:TM 9-2350-260-10
LO 9-2350-260-12
PRELIMINARY PROCEDURES:Remove top deck (page 16-20)
Remove transmission shroud (page 9-20)
Remove transmission shroud support (page 9-38)
Remove exhaust pipe (left, page 8-6) or (right, page 8-10)
Block both tracks front and rear, place transmission selector lever
in neutral (N), and make sure brake is released so transmission
output flange can be turned to loosen all four screws
(TM 9-2350-260-10)
Pull transmission mounting guide toward rear (page 5-10)
Go on to Sheet 2
Change 2
12-11
Back to Top


