TM-9-2815-213-34 - Page 46 of 192
•TM 9-2815-213-34
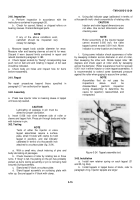
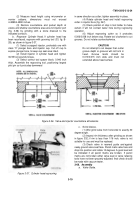
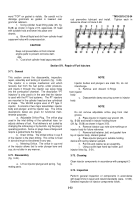
Figure 3-29.
Valve seat-sectional view.
(a)
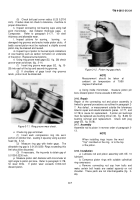
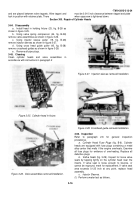
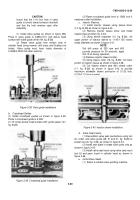
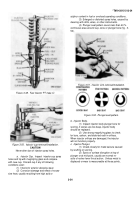
Install injector sleeve holder (15, fig. B-28) on a
scrap injector and cup assembly into each injector
sleeve. Tighten sleeve holders to 10/12
foot-pounds
torque or injector capscrews to 30/35
foot-pounds torque
as shown in figure 3-30.
(b
) Using
water heated to 175/200 degrees
Fahrenheit, test cylinder head for leaks at 35/85 pounds
pressure.
(c
) Check carefully around injector for any evidence
of water leaks. Mark sleeves for replacement that
evidence leakage. If cylinder head shows leakage,
replace head.
(d
) Open water outlet valve to check for free water
circulation through cylinder head.
(2) Inspect injector sleeves for scratches on
cup
seat area and for continuous contact by using Prussian
Blue. Mark sleeve that is scratched on does not show
continuous seat contact, of at least 0.060 inch wide, for
replacement.
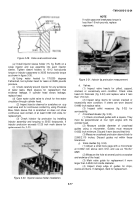
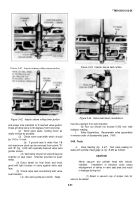
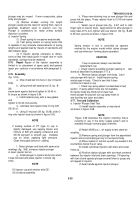
(3) Check injector tip protrusion by installing
injector assembly and torquing to 30/35 footpounds. If
injector protrusion exceeds 0.125 inch mark sleeve for
replacement (fig. 3-31).
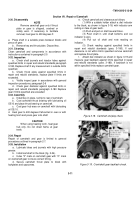
Figure 3-30.
Injector sleeve holder installation.
NOTE
If nylok capscrew breakaway torque is
less than 15
inch pounds, replace
capscrews.
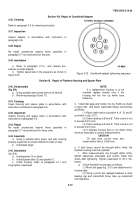
Figure 3-31. Injector tip protrusion measurement.
d.
Valves.
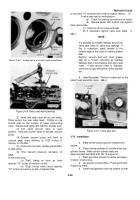
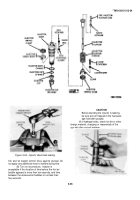
(1) Inspect valve heads for pitted, cupped,
cracked, or excessively worn condition. Check valve
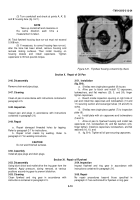
head rim thickness (fig. 3-32)
and replace valve if less
than 1/16 inch.
(2) Inspect valve stems for scored, cracked or
excessively worn condition. If stems are worn beyond
0.4490 inch replace valve.
(3) Inspect collet recesses (fig. 3-32)
for
serviceability.
f.
Crosshead Giudes
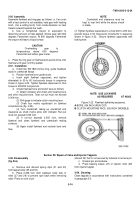
(fig. 3-33).
(1) Check crosshead guides with a square. They
must be perpendicular at four right angles with the
cylinder head.
(2) Measure outside diameter of crosshead
guides using a micrometer. Guides must measure
0.4322 inch minimum. Discard if worn beyond that limit.
(3) Measure crosshead protrusion above block to
2.090/2.110
inches. Discard guides not within these
tolerances.
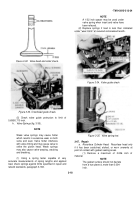
g.
Valve Guides
(fig. 3-34).
(1) Adjust a small bore gage with a micrometer
at 0.0002
inch above worn limit, and use as "No-Go"
gage.
(2) Mieasure the hole at several points crosswise
and endwise of the head.
(3) Mark valve guide for replacement if worn
larger than 0.4545 inch inside diameter.
(4) Inspect sharp edge of guides for chips,
cracks and burrs. If damaged, mark for replacement.
3-17
Back to Top

